1. Capture a pair of stereo images from a 45-degree angle above a three-dimensional subject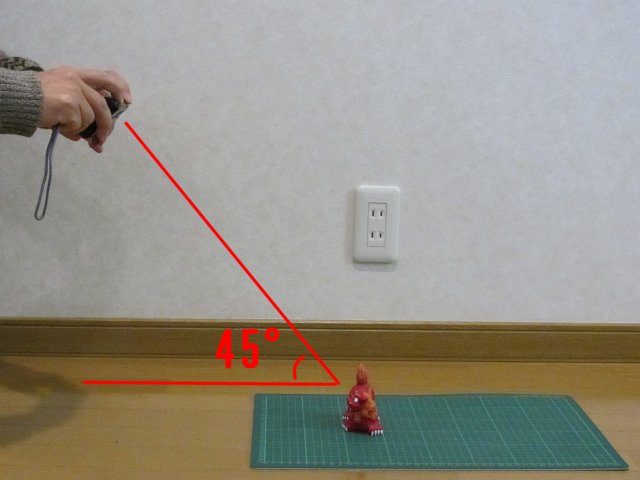 . |
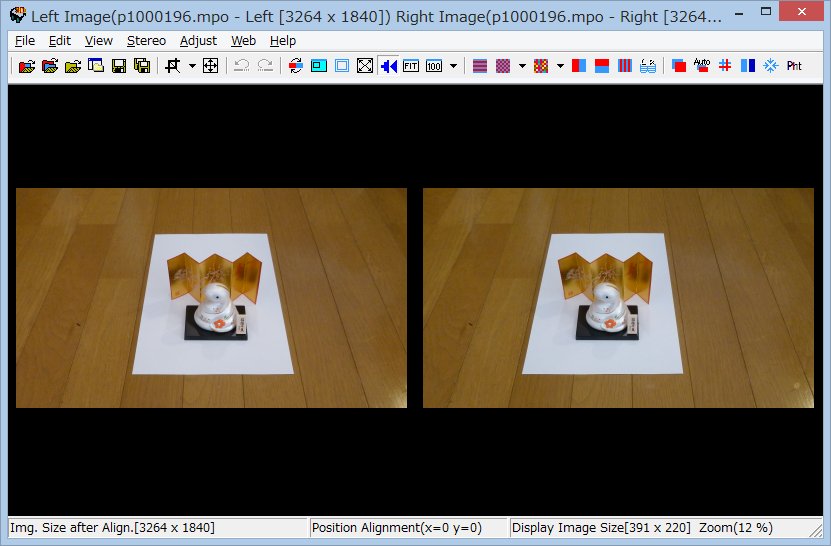
2. Import your source images into SPM using the File/Open menu option. 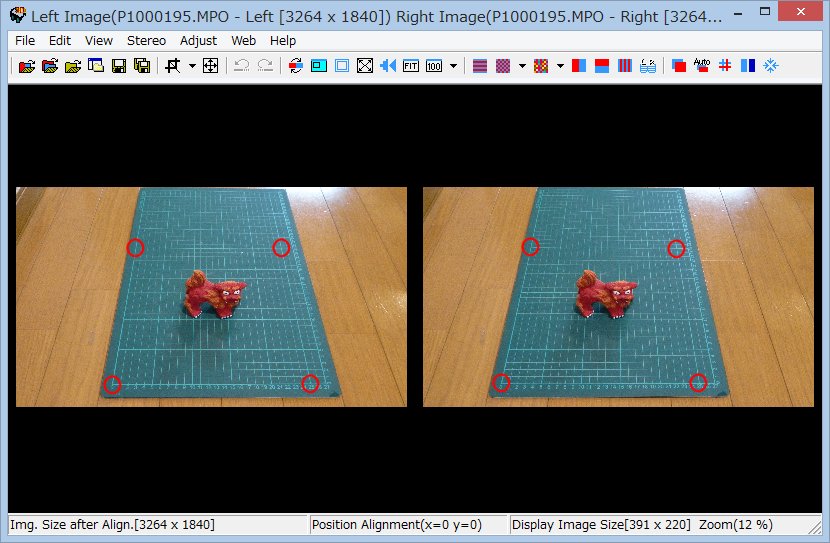 . |
| 3.We need to specify four, corresponding pairs of points on the flat reference background of the left and right images. Before specifying each pair, we have to select 'Easy Create Pop-up Anaglyph' from the Adjust menu or by using the shortcut (Alt + F). It is more convenient to use a toolbar button, so double-click the mouse on a blank area to the right of the existing toolbar buttons, the tool button edit screen will be displayed. Highlight [Easy Create Pop-up Anaglyph] in the left column, click [Add] and the button will be added to the toolbar. 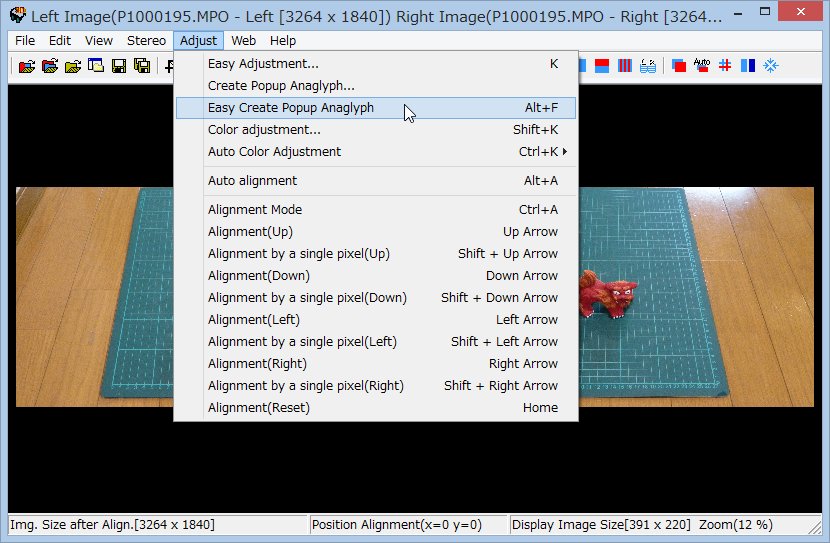 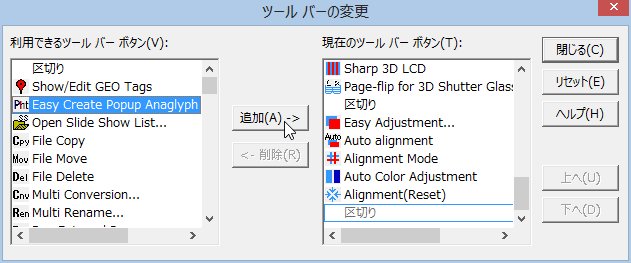 . |
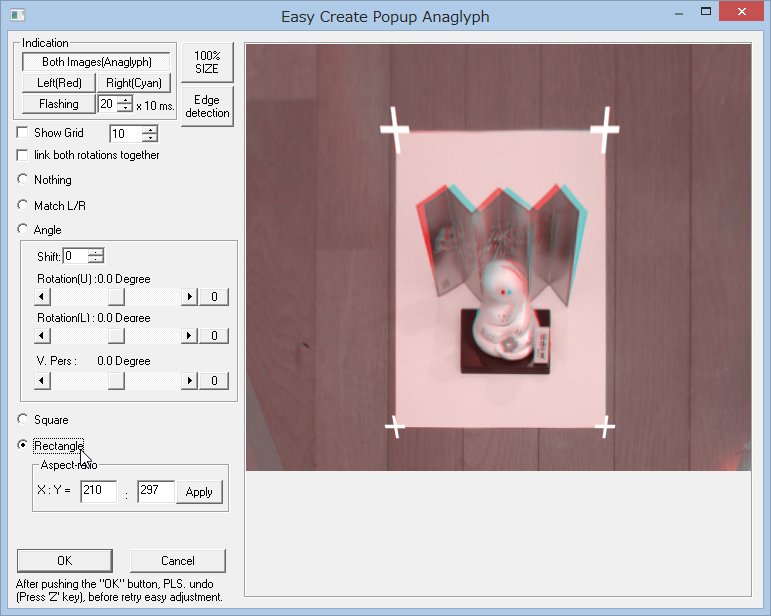
| 4. If you enlarge the image size to 100% (by pressing the [J] key) you can define the reference points more accurately. This means that auto-detection of square or rectangular backgrounds is more likely to work correctly. Using the horizontal and vertical scrollbars, move to the first location where you want to specify a reference point, click the toolbar button or use the (Alt + F) shortcut key. (See photo below) Click corresponding reference points on the left and right images. You can select points moving from left-to-right (counter clockwise) or right-to-left (clockwise). After specifying the two points, in the information area at the bottom left,you will see the pair-number and their co-ordinates. 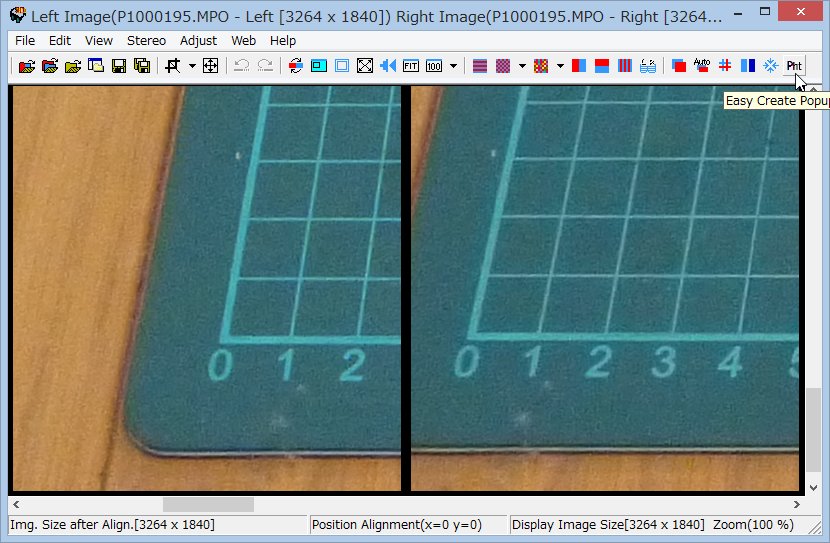 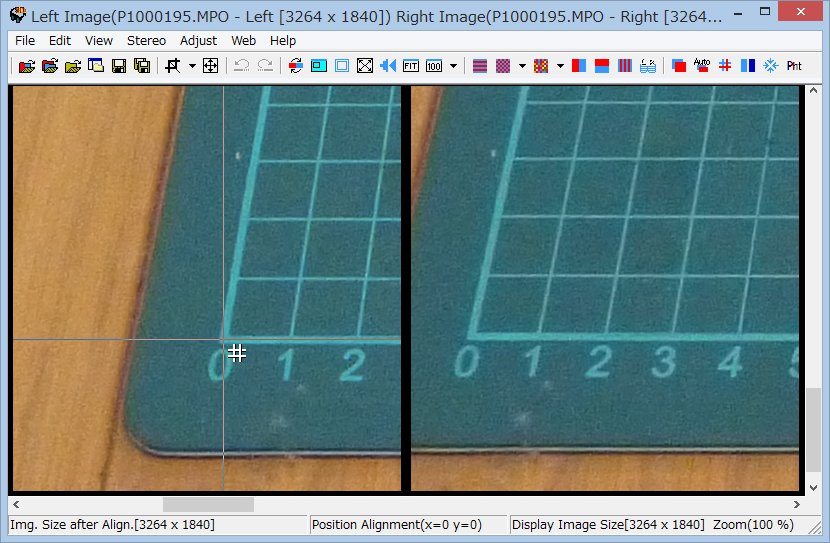 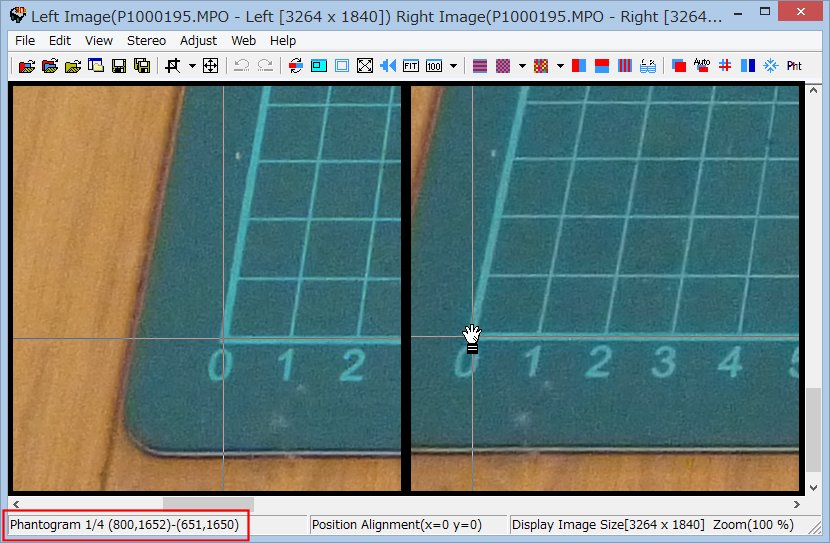 . |
| 5. Now specify the second pair of points. The new pair-number and their co-ordinates will be displayed in the information area at the bottom left. After specifying the left or right point you can press the "ESC" key to cancel it if necessary. If you press "ESC" key after specifying both points then all specified points will be cancelled and you may start again from the first pair of points. Repeat the procedure for the third and fourth pair of reference points. 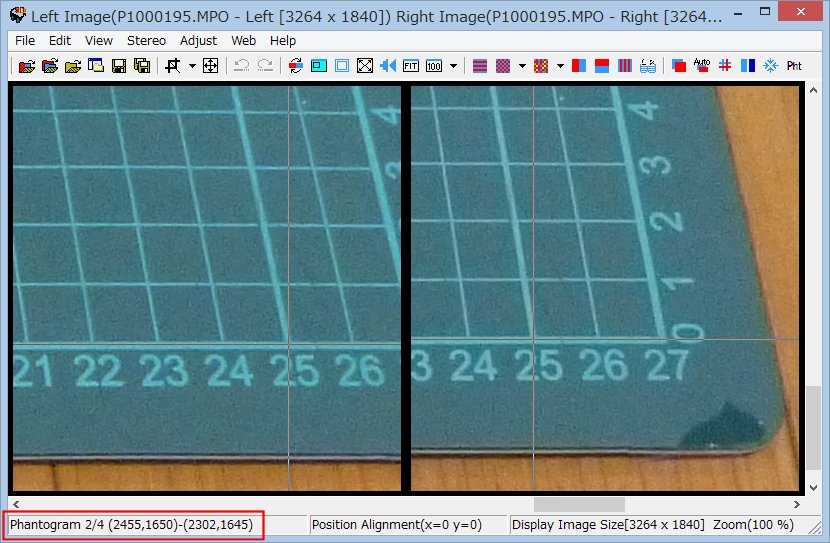 . |
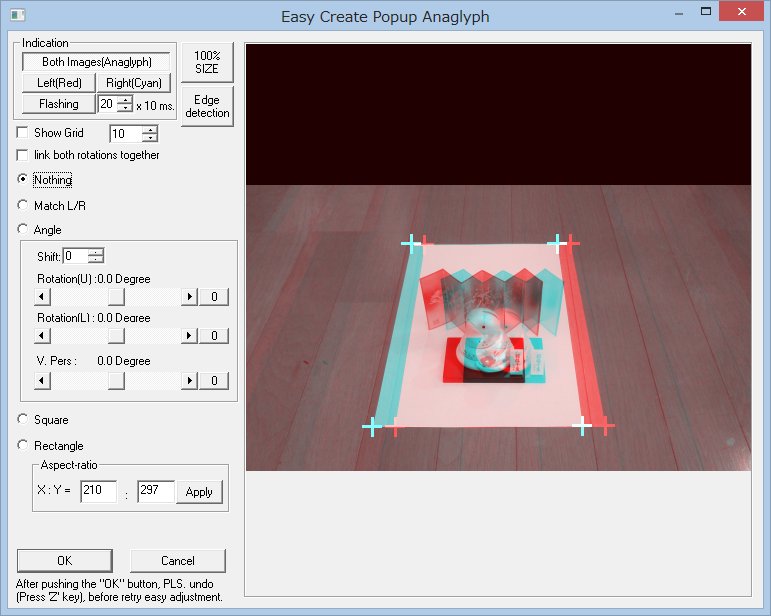
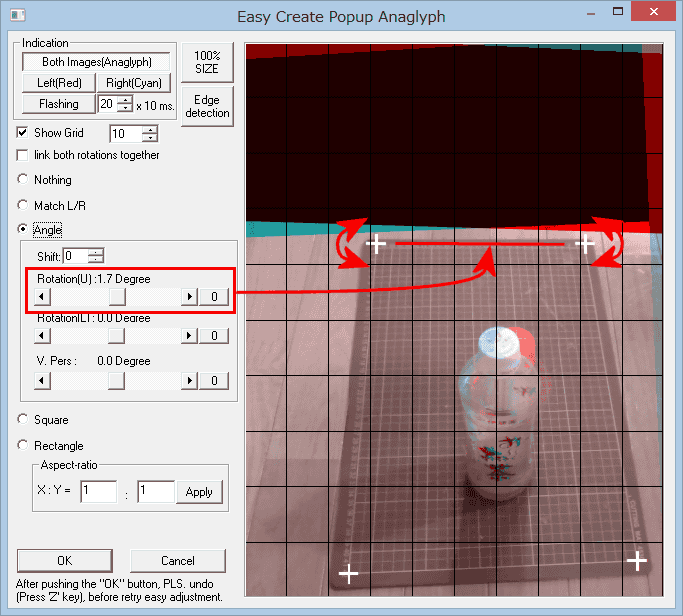
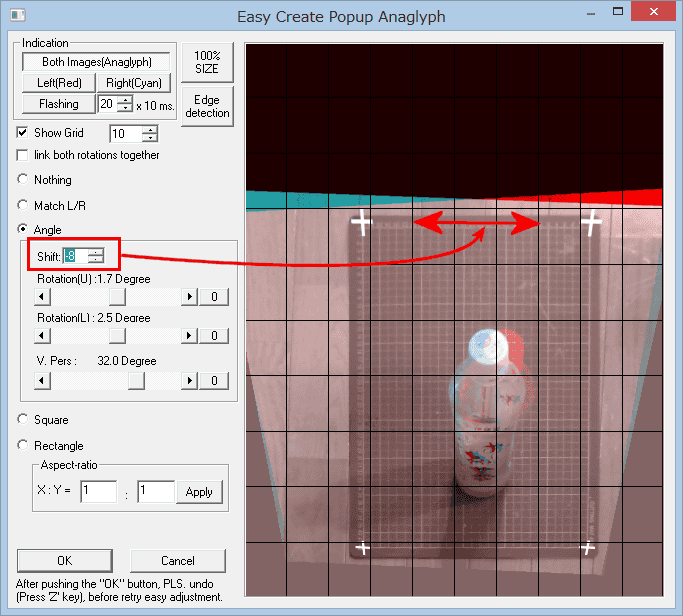
6. After specifying the four points, the 'Easy Create Popup Anaglyph' Edit screen will be displayed.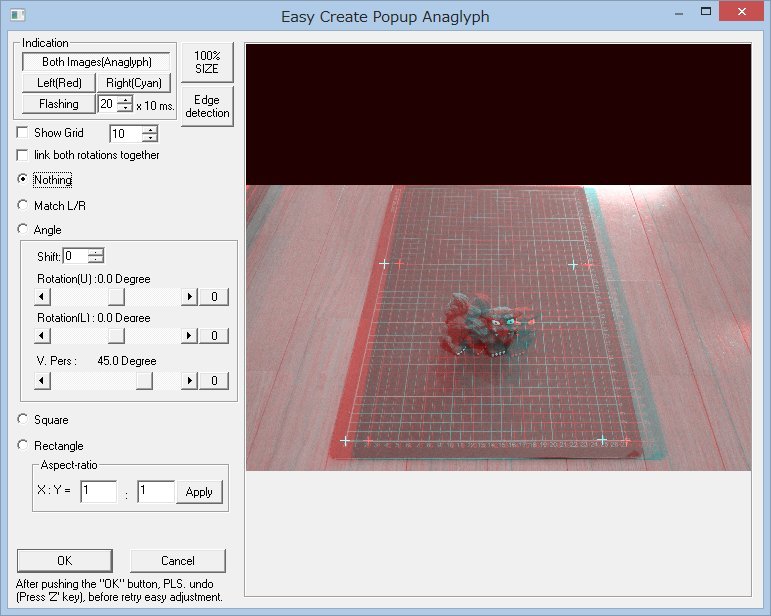 . |
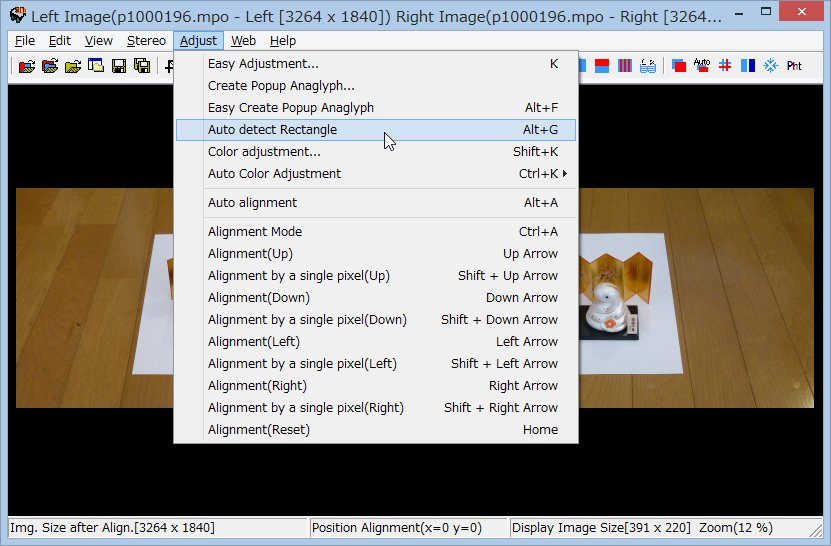
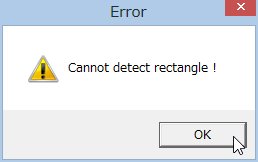
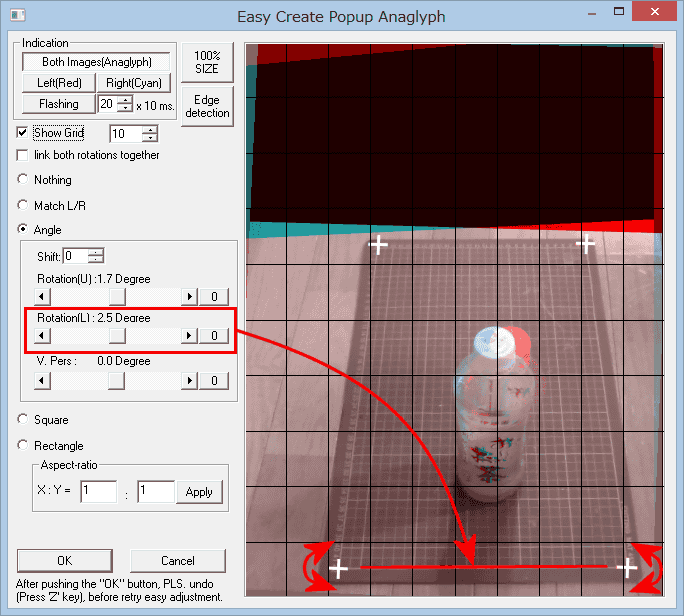
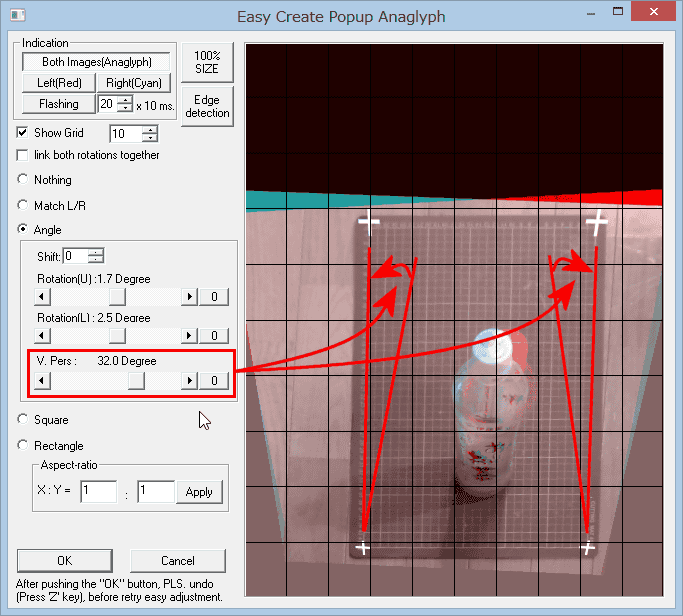
| 7. The reference points on each image are marked with a '+'. Click 'Match L/R' to check the four pairs of reference points overlap correctly. Check the radio button for a square or rectangular background and for rectangular backgrounds enter the width and height. The image transformations will then be applied and to check accuracy enable the grid overlay. The transformed image should be rectangular. If necessary, you can use the Angle option to rotate the image in the screen plane or V.pers to apply a perpective rotation to top-and-bottom of the image. With accurate, undamaged backgrounds, the procedure can be even easier .. from the Adjust menu simply choose 'Auto detect rectangle' or use shortcut (Alt + G). Although not a plain background, even the cutting mat with a printed grid shown above can be auto-detected. If not, use the four reference points method. For outdoor shots, we specify four distinctive pairs of points on the flat background. It will be necessary to use the Angle option to rotate the image in the screen plane or V.pers to apply a perpective rotation to top-and-bottom of the image. See this video http://youtu.be/1iD_qE6Nf1E starting at the 2:33 minutes mark. When the 'Easy Create Popup Anaglyph' Edit screen opens, make sure the appropriate Square or Rectangular radio button is checked and for rectangular the width and height are correct. SPM remembers those settings and will use them, by default, every time 'Easy Create Popup Anaglyph' opens. When you are satisfied with the result, press the [OK] button. 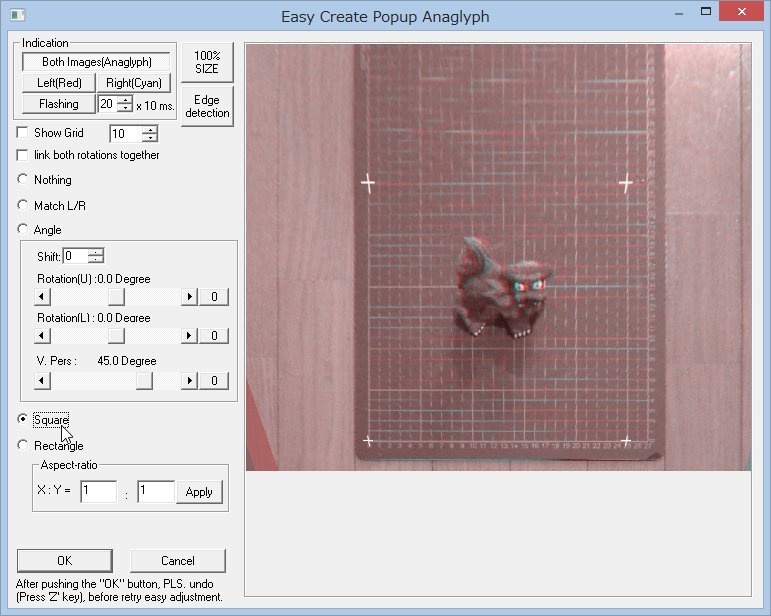 . |
8. Press the [F] key to fit the image to the window size.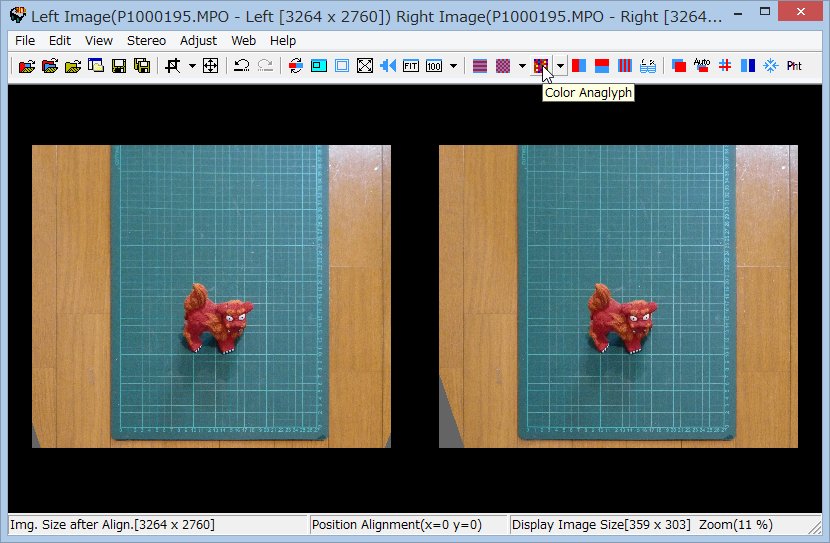 . |
| 9. Using the menu Stereo options, display as side-by-side or anaglyph. If necessary, use the Edit\Crop\Free Cropping menu option, the [B] shortcut or the 'Free Cropping'toolbar button, crop the image to the required area. 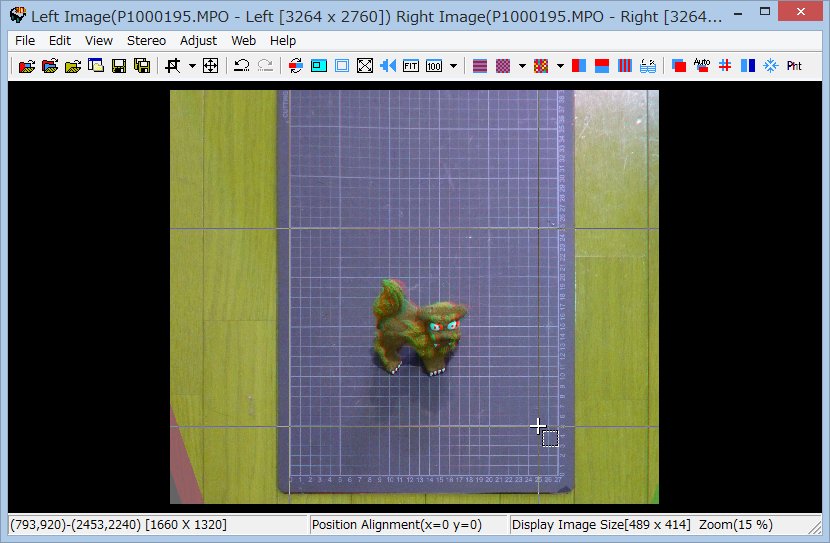 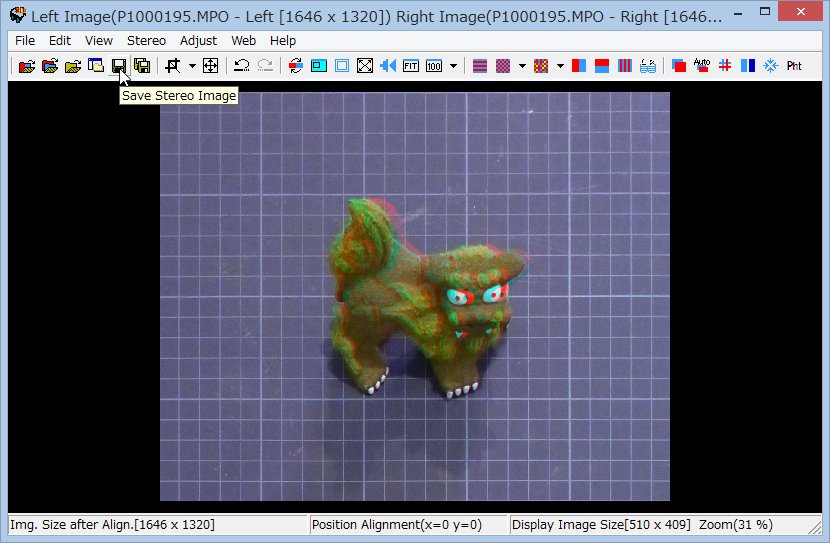 . |
10. If you want to save the image produced, you should check the 'No compression ghosting'
option [to prevent colour loss due to JPG compression]to improve image
quality. . |
| 11. Use the menu File/Print option or shortcut (Ctrl + P) to print the completed
colour, anaglyph image, as shown below. When viewed through through red-cyan glasses, looking at it from a distance of about 40cm above and 45 degrees to the front, the illusion of observing a real, three-dimensional object is very striking. 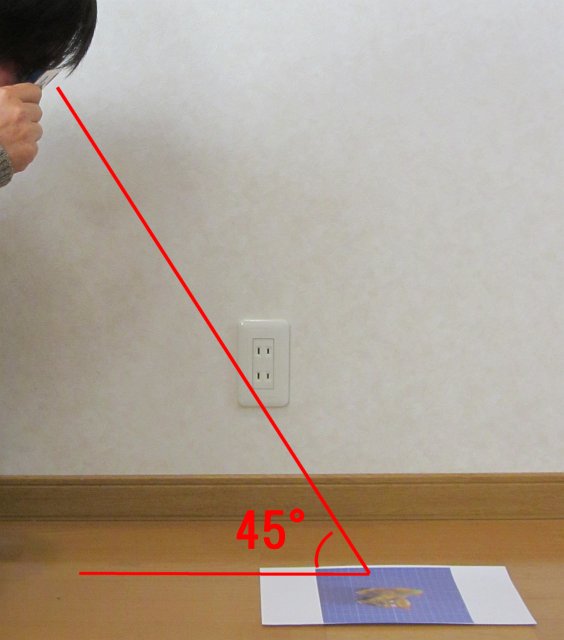 |