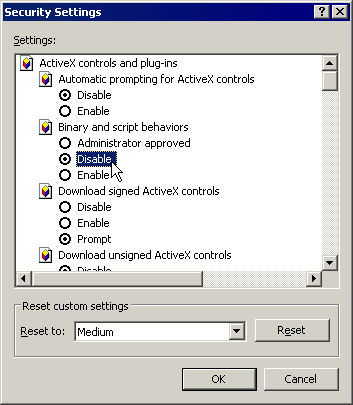
You must enable active scripting and, for the correct display of navigation controls in Google Earth, enable binary and script behaviours for ActiveX controls :-
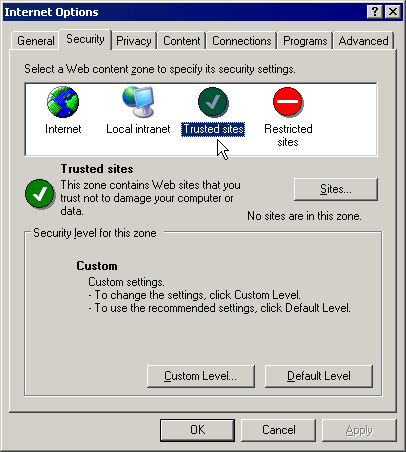
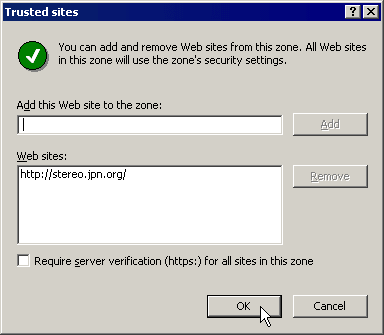
Alternatively, you can add 'http://stereo.jpn.org' to your trusted websites :-
The GoogleEarth browser plugin for IE is also required.
Using IE, visit this webpage http://code.google.com/intl/ja/apis/earth/documentation/examples.html
Click on one of the examples and if the plugin is not installed, you will be prompted to download and install it.
Return to the above website to test it.
1. To write the GEO tags we need Phil Harvey's [ExifTool]
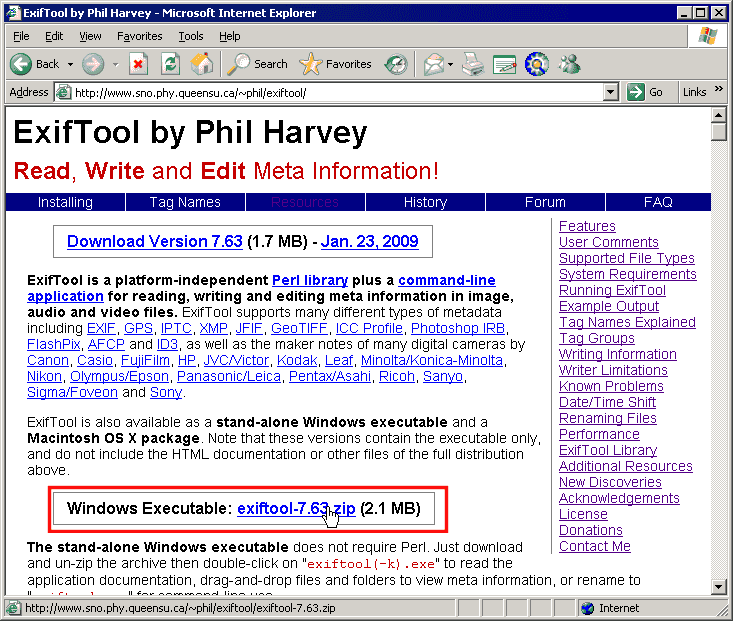
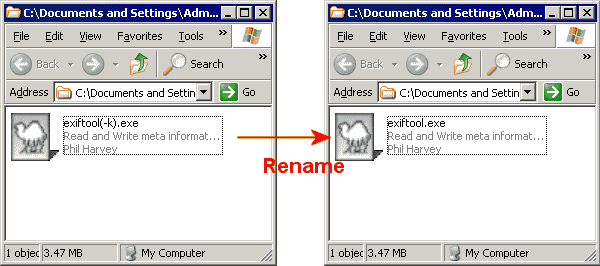
2. Download and extract from the zip file and then rename it 'exiftool.exe'.
3. Set the location of 'exiftool.exe' in the SPM 'Preferences' Dialogue

A list of file-types supported by ExifTool is given here.
4.Before processing any images, we need to make sure that the EXIF data containing the GEO tags is included when the images are saved.
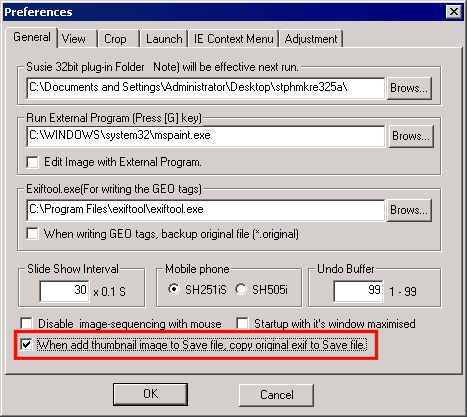
In 'Edit/Preferences/General', check the option to save the original exif information when adding a thumbnail image to the file.
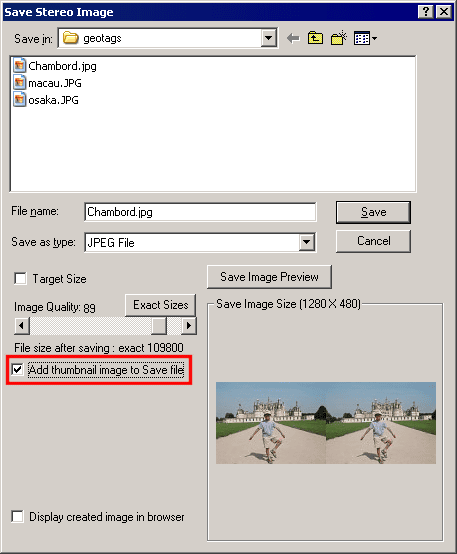
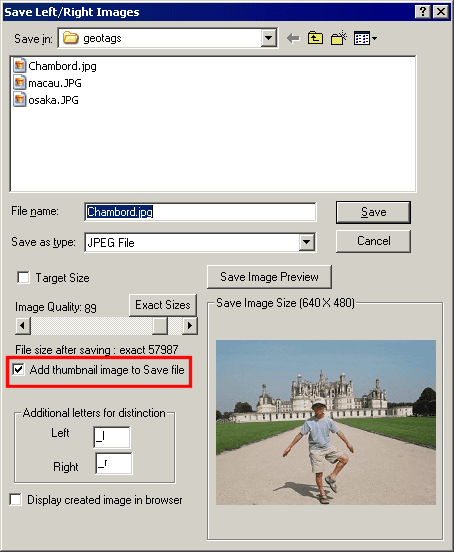
In either or both 'Save Stereo Image' and 'Save Left/Right images', check the option to add a thumbnail to the saved file.
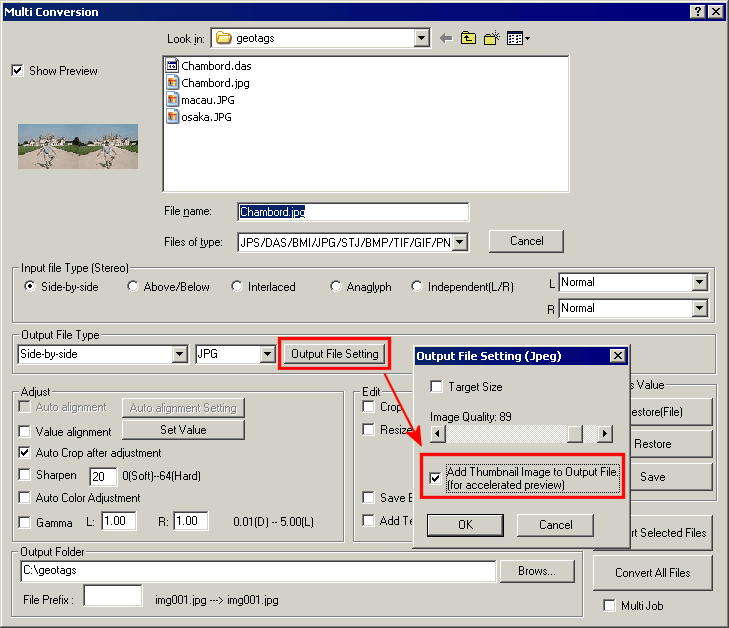
Also, in Multiconversion Output File Setting, check the option to add a thumbnail image.
Processing the Images
1. First of all, if you would like to add a GEO tag icon to the toolbar,enter menu Edit/Customize Toolbar, select the GEO icon in the left window and Add to the right window.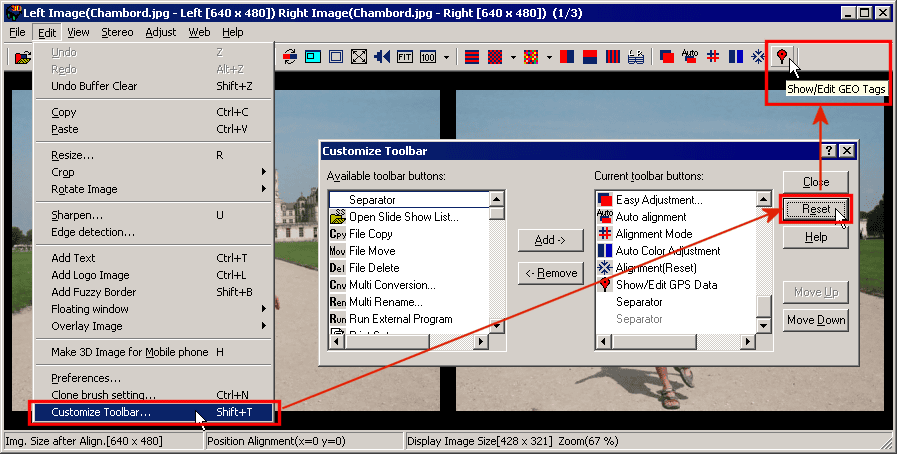
2. Load the image to be GEO tagged and then select 'Web/Show/Edit GEO Tags' (or click the toolbar icon).

2. A map will displayed and to get to the approximate location, enter the name of a major city and click the 'Search' button.
You may then use the navigation controls on the left
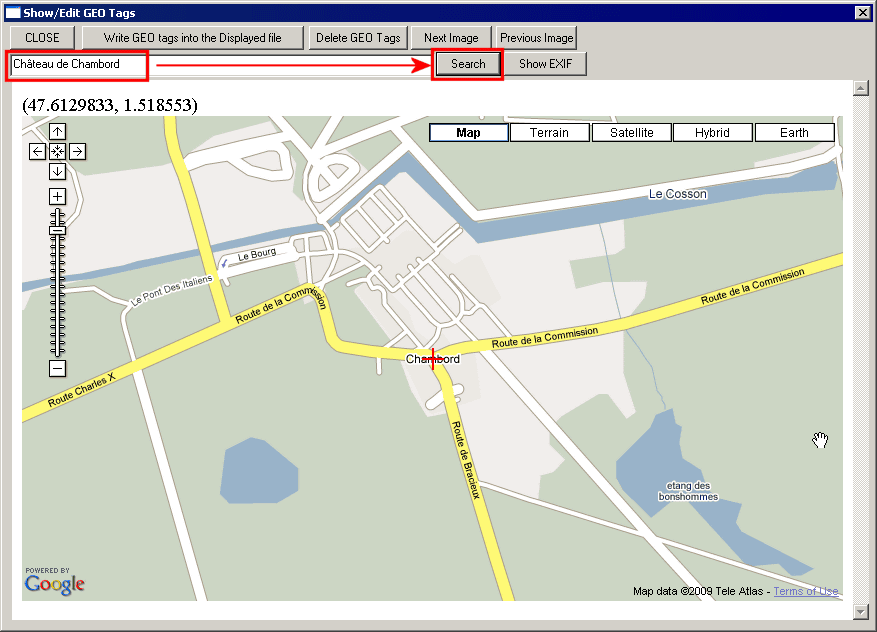
The navigation controls allow you to pan up/down and left/right and also return to your last settings.
You can drag the zoom bar or use the '+' and '-' buttons.
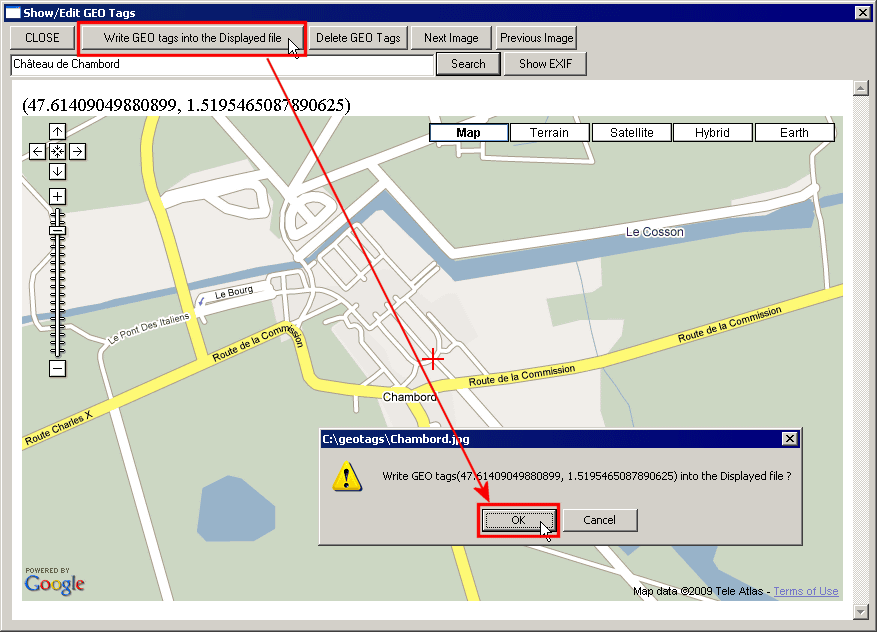
3. Position the exact, required location under the red cross-hair and click 'Write GEO tags into the Displayed file'.
The latitude and longitude will be displayed in a decimal format and you may click 'OK' to continue.
4. To confirm that the GEO tags have been written, and to check them, click 'Show EXIF'.
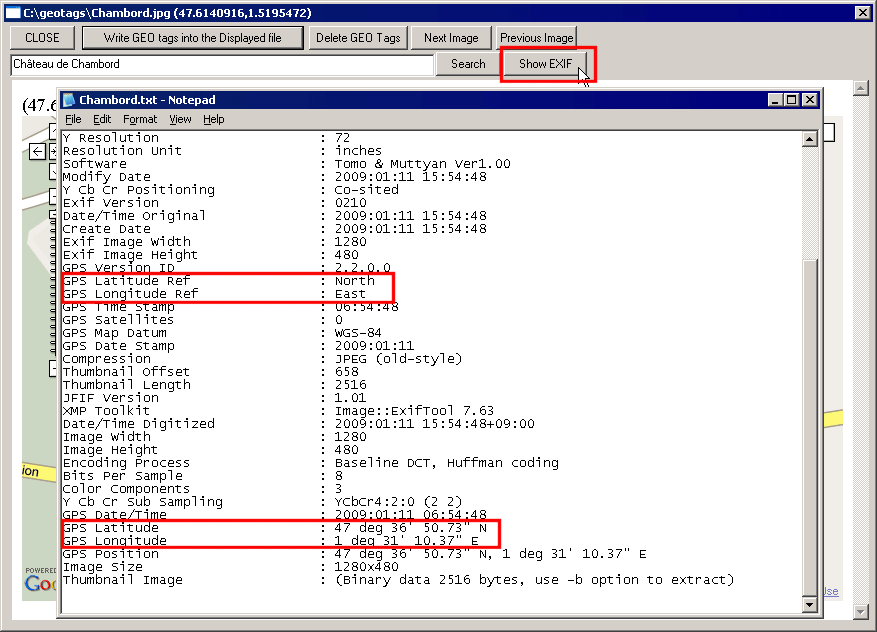
In particular, check if your latitude reference is North or South and your longitude reference is East or West.
(in the EXIF, the co-ordinates are in units of degrees/minutes/seconds which makes exact checking difficult)
5. If you want to reference the GEO tag to a new position, move that position under the cross-hair.
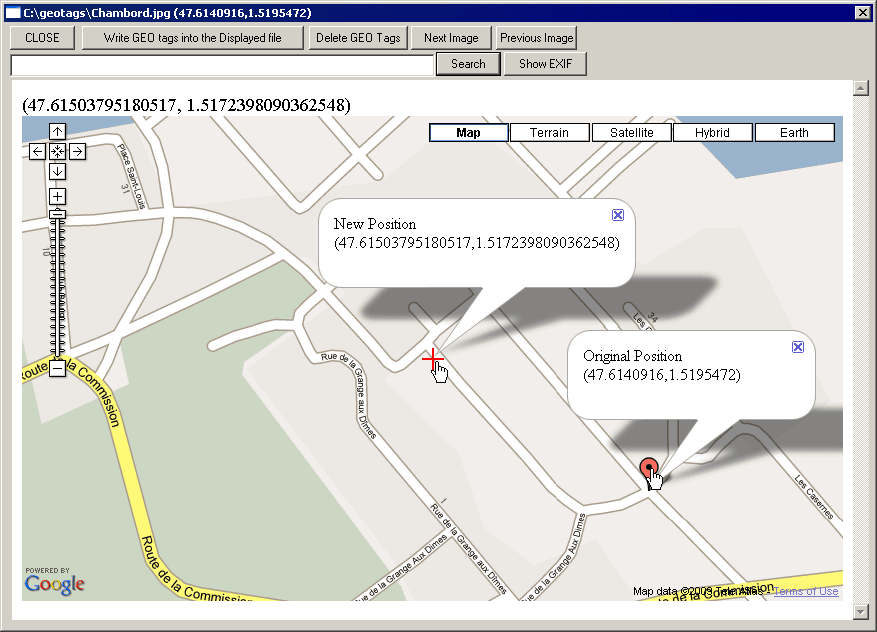
Clicking the cross-hair will show the new-position co-ordinates, clicking the GEO icon will show the original-position co-ordinates.
6. To delete a tag from the EXIF header, click the 'Delete GEO Tags' button.
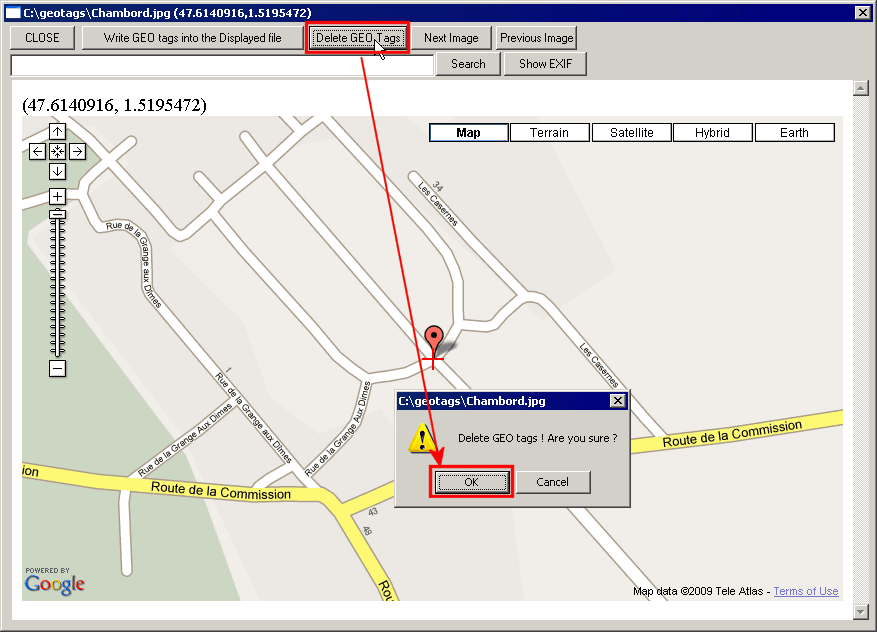
You will be prompted to confirm the deletion.
7. Now, click 'Next Image'
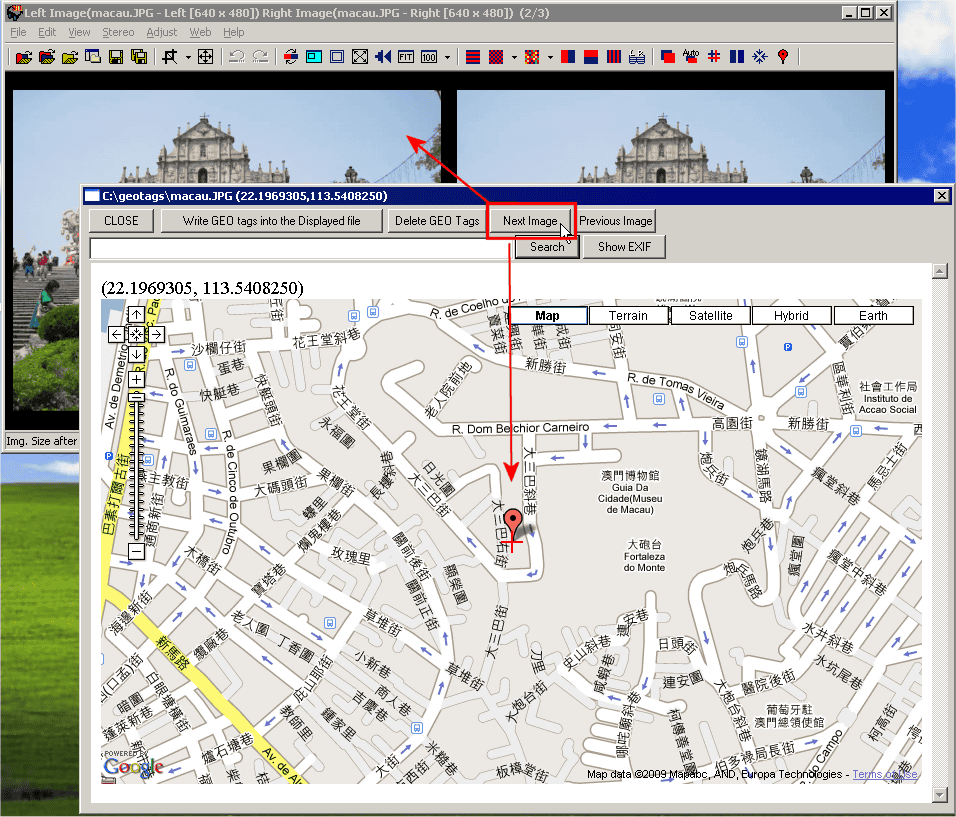
Initially, the GEO location will be the same as for the previous image.
Add new GEO tags as described above.
8.You may click the 'earth' button in order to view the location using the GoogleEarth InternetExplorer browser plugin.
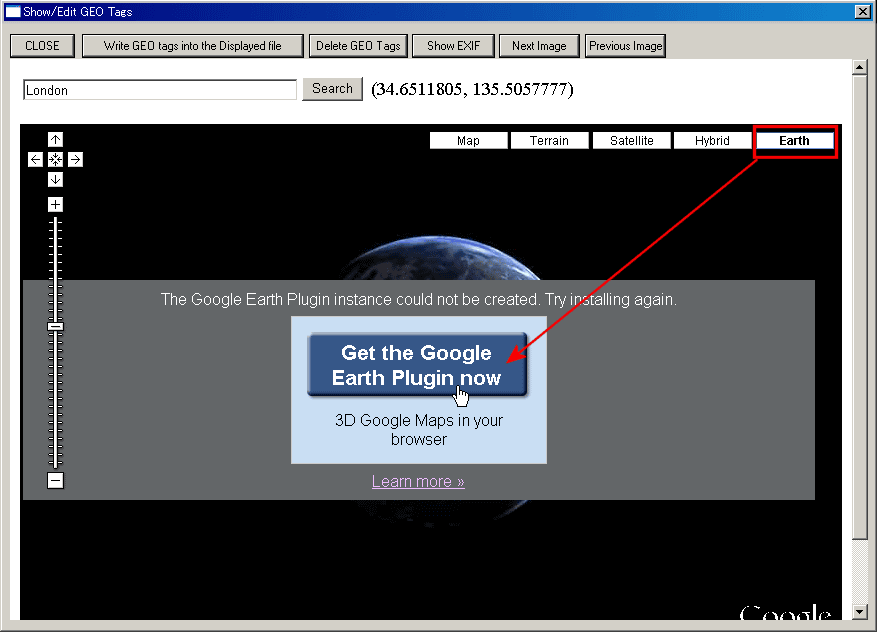
If you have not installed the plugin, as described at the top of this page, you will see the above message.
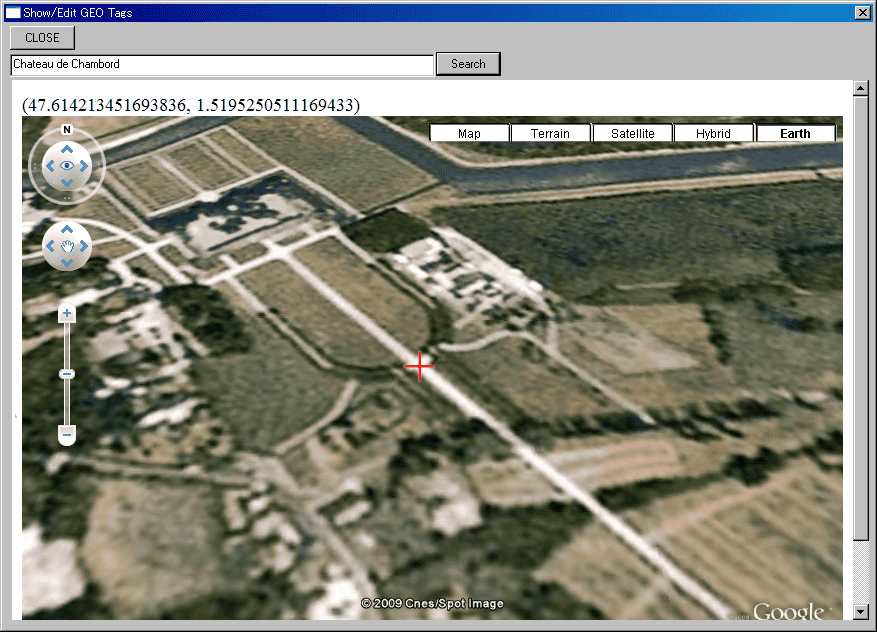
The Google Earth display has its own set of controls to allow you to navigate and zoom the terrain.