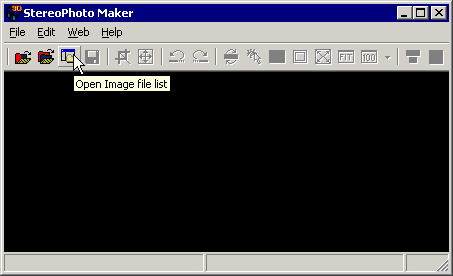
Open Image file list (Alt+O)
This option may also be selected by clicking the associated icon on SPM's main toolbar.
When this option is selected, the contents of the folder you last used will be displayed as thumbnails, small icons, List or details.
The particular display mode will be the one that you last selected.
'Small icons' simply displays a custom SPM icon together with the names of the files.
'Details' displays Name, size(in bytes), image type (BMP,JPG,JPS,etc.) and calendar-date of creation/modification.
These display modes can be selected from the toolbar buttons or from the 'View' menu.
You may then sort the entries by Name, size, type or time, again using the toolbar buttons or the menu 'View/Arrange icons by ..' .
The left-hand resizeable window displays the FileTree and allows to to navigate to the required folder.
Alternatively, you may use the menu 'File/Select Folder' option to perform the same task.
JPEG-format files (jpg, jpeg, jps, stj) may contain embedded thumbnails and SPM will use these for display.
Otherwise, SPM will create the required thumbnails 'on-the-fly'.
You may choose menu option 'Edit/Show only images with embedded thumbnails' to speed-up display of the folder contents.
The size of SPM's 'on-the-fly' thumbnails may be chosen from 'View/Thumbnail size' as small (80x80 max.), medium (120x120 max.) or large (160x160).
As aspect-ratio is preserved, the actual size will depend on the source-image dimensions.
These choices do not apply to embedded thumbnails.
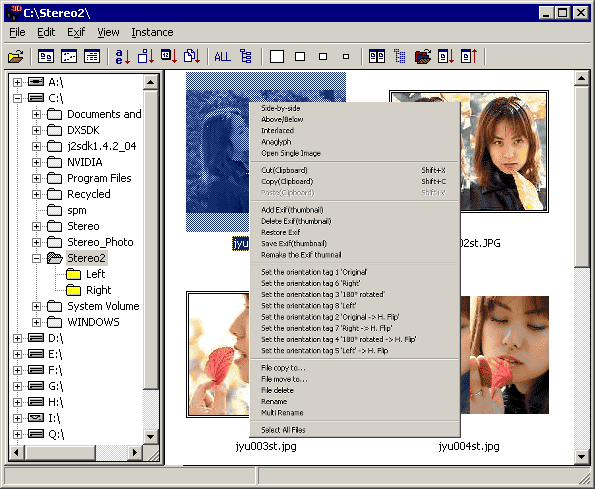
To open a stereo image, right-click on its thumbnail, button or detail entry and select format from side-by-side, above/below, interlaced, anaglyph or single image.
To open left/right images, click on the first image and Ctrl + click on the second image (whether it is alongside or separated) and again right-click and choose 'Open Left/Right Images' (the only option).
You may also open files, after selecting them, using menu option 'File/Open image'.
Embedding Thumbnails into JPEG-format files
Digital cameras typically embed a thumbnail in the Exif header but film-camera users can check SPM's 'Save Stereo Image', 'Multi Conversion' or 'Multi Conversion from Slideshow List' thumbnail options to do the same.
Another way is the 'Add Exif (thumbnail)' feature.
This only applies to JPEG-format files.
(this feature is also useful with folders containing large numbers of non-stereo images.)
With your folder contents displayed in any of the three modes, select an individual image with a single click, select a consecutive range with single-click followed by Shift + single click at the end of the range or select a discontinuous range of images using single-click followed by Ctrl + single click on each required image.
For selecting very large numbers of images that do not fit in the window even in 'List' display mode (and which cannot be scrolled),
use menu option 'Edit/Select All Files' .
The selected files will be 'grayed-out' in any of the display modes and will remain so even if you change display mode.
Right-click anywhere on the selection and a context-menu will be displayed allowing you to add, delete or restore a thumbnail with the file.
If you choose to add a thumbnail, the process will start and the number of images that SPM has currently converted will be displayed in the window title-bar
(especially useful when large numbers of images are being processed).
You may stop the process by pressing the 'Esc' key, as stated in the title-bar.
On completion, SPM will display a 'Completed' message-box and report the number of images actually processed from the required number.
Click 'OK' to continue.
If you exit 'Open Image File List' and then re-enter, you will see that the processed images are surrounded by a distinctive frame to indicate that they contain embedded thumbnails.
To delete the Exif information, select the required files, right-click and choose 'Delete Exif(thumbnail'.
You will be asked if you want to backup the Exif information into a '*.exf' file for possible, future restoration.
After choosing the desired option, the process will start and on completion the number of images actually processed from the required number will be displayed.
If you chose to backup the Exif information, the associated '*.exf' files will be in the same folder as the selected images.
Click 'OK' to continue.
There will still be a distinctive frame around the images with embedded thumbnails until you exit and re-enter.
To restore the Exif information, select the required files, right-click and choose 'Restore Exif(thumbnail'.
Again, SPM will report how many files have had their Exif data restored.
Embedding orientation tags into JPEG-format files
This is useful when twinned cameras have been used as it avoids the rotation and resaving of a JPG image.
Such a process is not recommended as it leads to a loss of quality.
SPM (and maybe some other programs) may use these tags to correctly display the image.
It is intended for use with original, source images that contain an EXIF header.
If there is no such header, a warning dialog-box will be displayed and you will be asked if you wish to proceed with the rest of the selection.
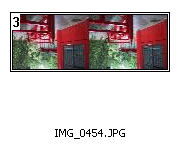
The tag number will be displayed at top left of the Image File List thumbnail image (except with extra-large thumbnails).
For further details, see Using twinned cameras with SPM.
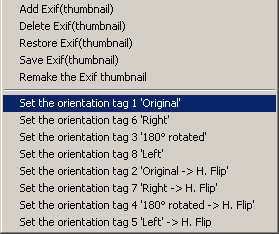
The following EXIF orientation tag values may be used :-
| 1 |
Original |
| 2 |
Original -> H.Flip |
| 3 |
180' rotated |
| 4 |
180' rotated -> H.Flip |
| 5 |
Left -> H.Flip |
| 6 |
Right |
| 7 |
Right -> H.Flip |
| 8 |
Left |
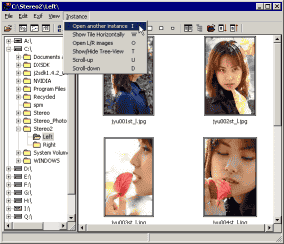
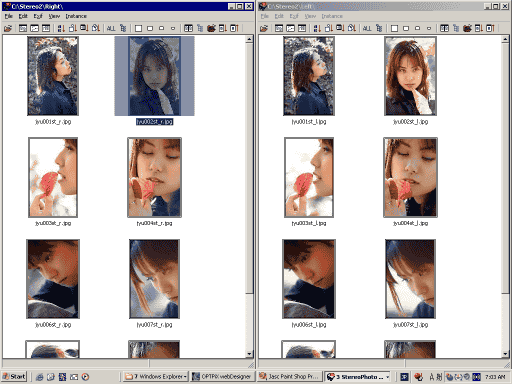
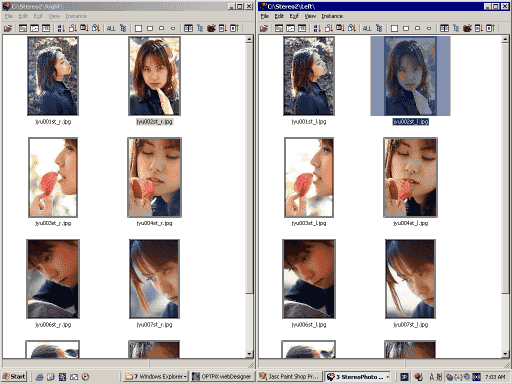
Running two Instances of 'Open Image file list'
This option allows you to compare the matching images in each folder and check for missing images or unsuitable pairs.
1. Open Image file list
 |
| . |
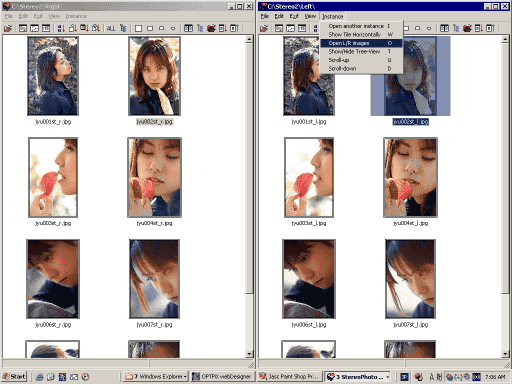
2. Open another instance (or push 'I' key)
 |
| . |
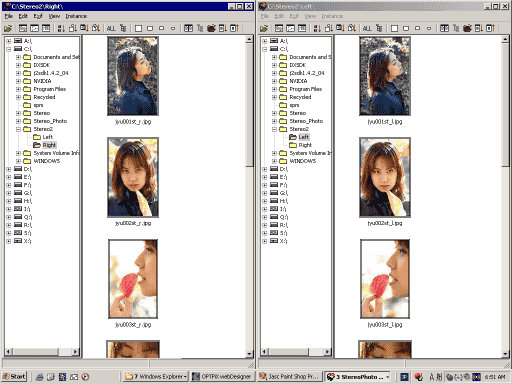
3. Select Left and Right folder
 |
| . |
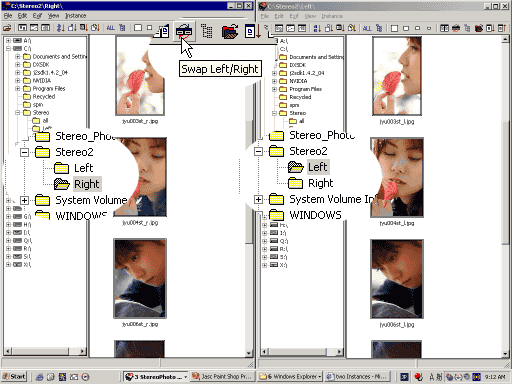
4. If you wish to swap-over the folders, click the toolbar button.
 |
| . |
 |
| . |
5. If you wish, hide the Tree-view (or push 'T' key)
 |
| . |
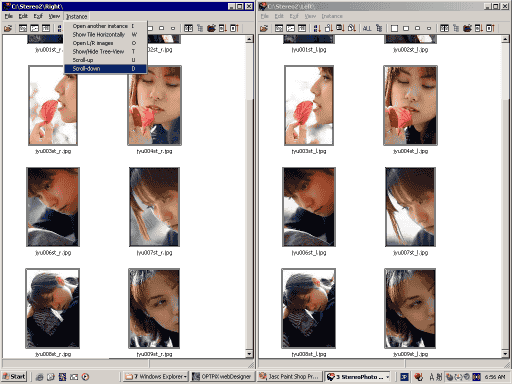
6. You can scroll the left/right folders together (i.e.synchronously) in three possible ways:-
Using the mouse-wheel, the U/D keys or the toolbar buttons.
With the mouse, it may be necessary to click on either window first.
To scroll independently, use the window's right-hand slidebar.
 |
| . |
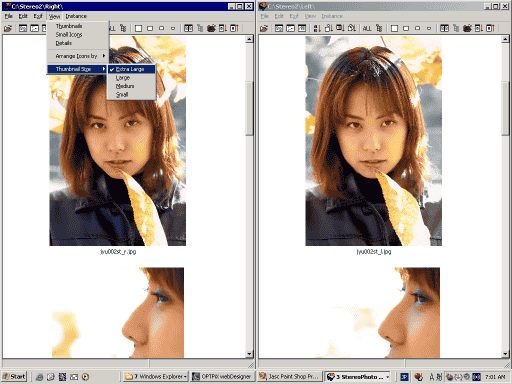
7. You can select extra Large.
When you select extra Large, SPM does not use Exif thumbnails. It is too slow.
 |
| . |
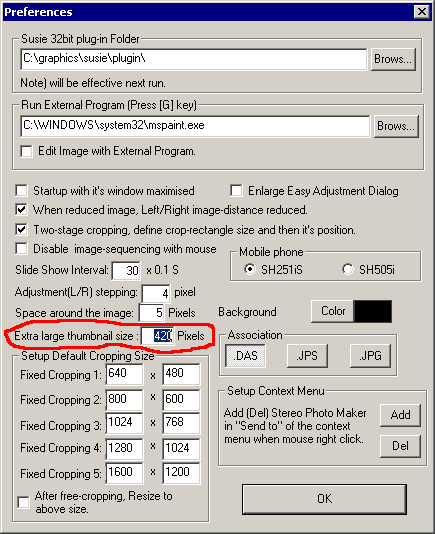
8. You can change the 'Extra large' thumbnail size in Preferences.
 |
| . |
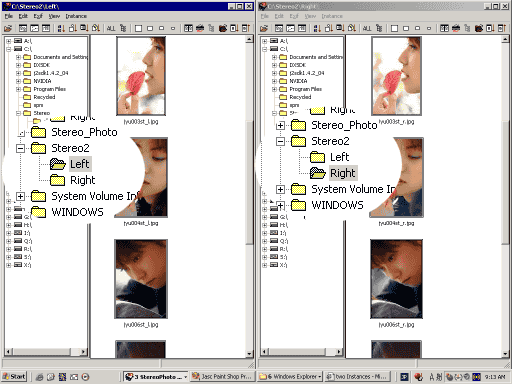
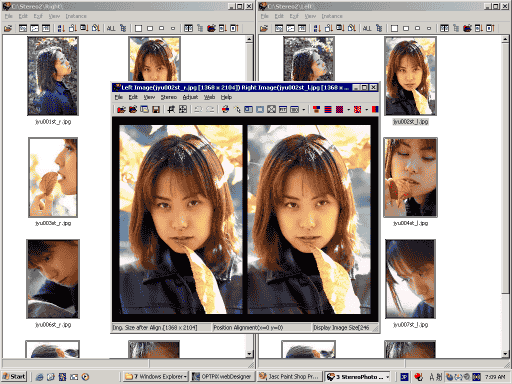
9. You can open Left/Right images from each folder.
Select one image from Left folder.
 |
| . |
10. Select another image from Right folder.
 |
| . |
11. Open L/R images (or push 'O' key)
 |
| . |
12. Open SPM
 |
Selecting Favorite Images from Folder
If you select your favorite images in a folder (most likely in Thumbnail view) and right-click on them, the context menu will give you the option to File Copy, File Move or File Delete them.
When copying or moving, if the destination folder does not exist SPM will ask if you would like the folder to be created.
If a new folder is created, the Folder TreeView on the left will not be updated until you
choose menu option 'Edit/Refresh Folder TreeView'.
If you choose to delete files, you will be given the opportunity to cancel the operation.
Another way of moving or copying selected images between folders is by using the clipboard.
With tree-view enabled, in the first-instance of 'Open Image-file List', browse to the folder of the source images.
Select 'Instance/Open another Instance' and in that window browse to the desired destination folder.
Select 'Instance/ Show-hide TreeView' to hide the TreeView and then select View/Thumbnails, Small Icons or Details as preferred.
If you choose thumbnail view, select the size of the thumbnail.
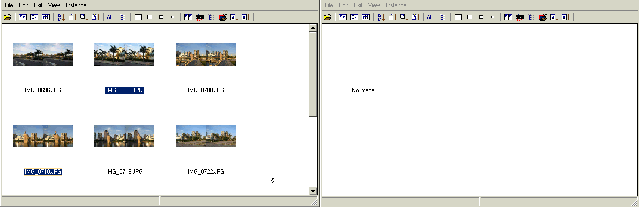
Multiselect the source images that you wish to copy or move.
 ...
...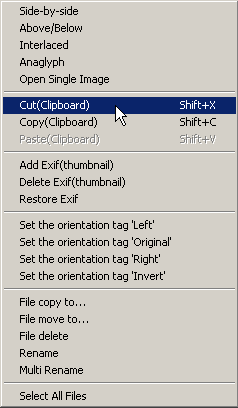
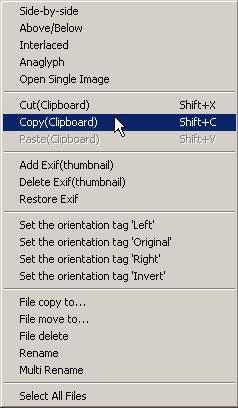
Right-click on an image and from the context-menu choose Copy(Clipboard) or Cut(Clipboard).
Alternatively, use the key-combinations Shift+C or Shift+X.
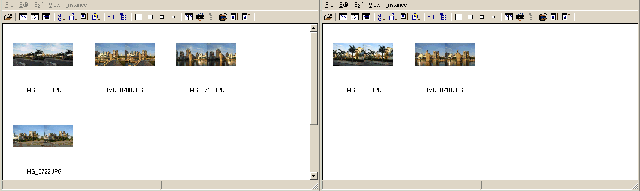
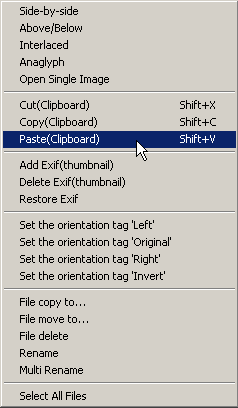
On the destination window, right-click and choose option 'Paste(Clipboard)' (or press keys Shift+V).
The selected images will be moved or copied from the source-folder to the destination folder.
(You may only use this 'Paste' function with SPM, it is not compatible with other applications.)
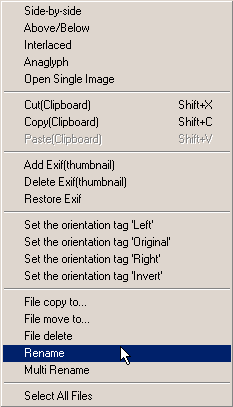
Renaming Images
You may rename single images or a batch of images.
 ...
...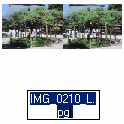
For a single image, right-click the selected image and select 'Rename' from the context-menu.
Enter the new name for the image.
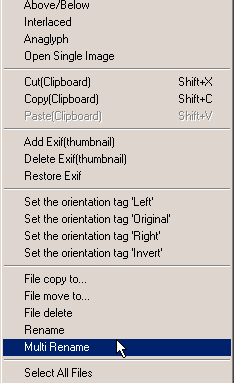
To rename multiple images, select them with Ctrl+click, 'Edit/Select All' or mouse-drag.
Right-click on any image and select 'Multi rename' from the context-menu.
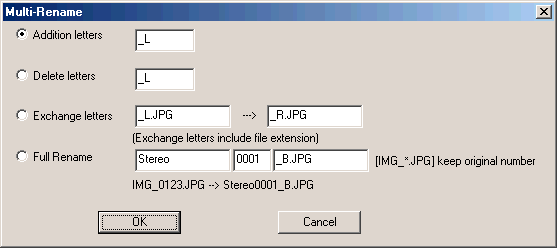
You may append new letter-combinations to the end of every image name ('Addition letters') or you may remove existing letters at the end of the name ('Delete letters').
To replace a sequence of letters with a new sequence, check 'Exchange letters' and be sure to include the file extension.
With digital cameras in particular, it may be desirable to create new, more meaningful names.
'Full Rename' allows you to specify the prefix-text common to all images, a starting value for a numeric index-value and a name-ending (including file-extension) common to all images.
If you wish to retain the original numeric-index, simply replace numeric-index value with '*' .
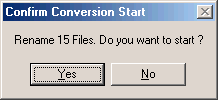
You will be prompted to confirm renaming.